Vintage Furniture Care Guide: Honoring Timeworn Beauty
Welcome! If creaking drawers, sun-softened finishes, and heirloom patina make your heart skip, you’re in the right place. Today’s chosen theme: Vintage Furniture Care Guide—practical steps, reassuring wisdom, and encouragement to preserve stories written in wood.
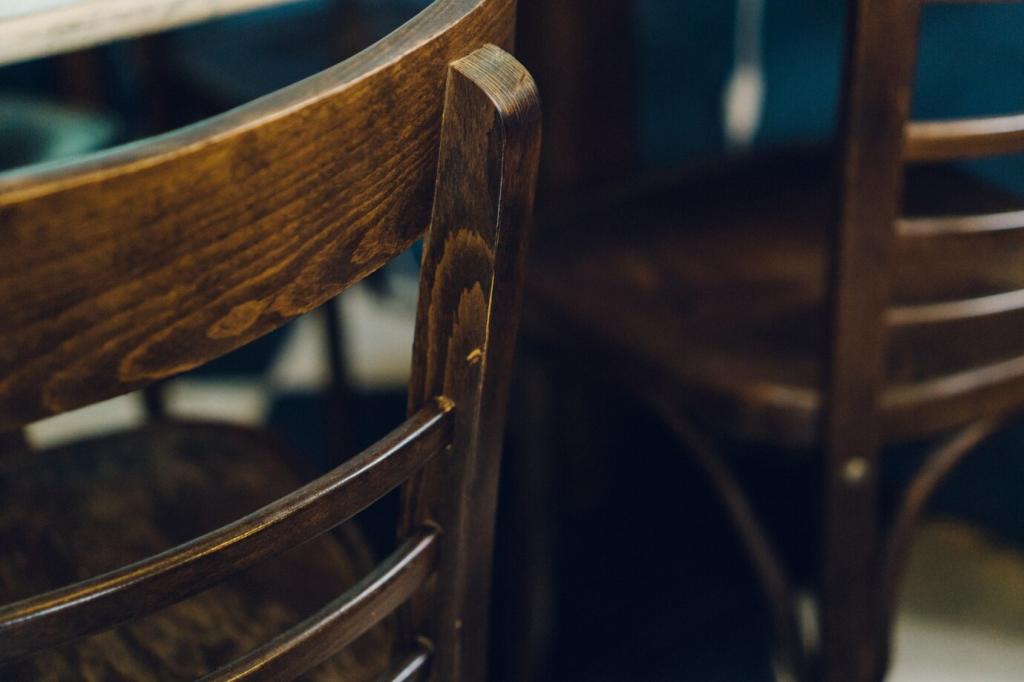
Know Your Wood and Finish
Look at end grain, weight, and figure. Oak has open pores; walnut leans chocolate-brown; mahogany glows reddish. Tap gently: hollow notes often hint at veneer. Post a close-up photo and ask our community for second opinions.
Know Your Wood and Finish
Shellac softens with alcohol, lacquer with solvents, while polyurethane shrugs off many household cleaners. Test an inconspicuous spot with a cotton swab. Knowing the finish helps you pick cleaners and polishes that protect rather than punish.
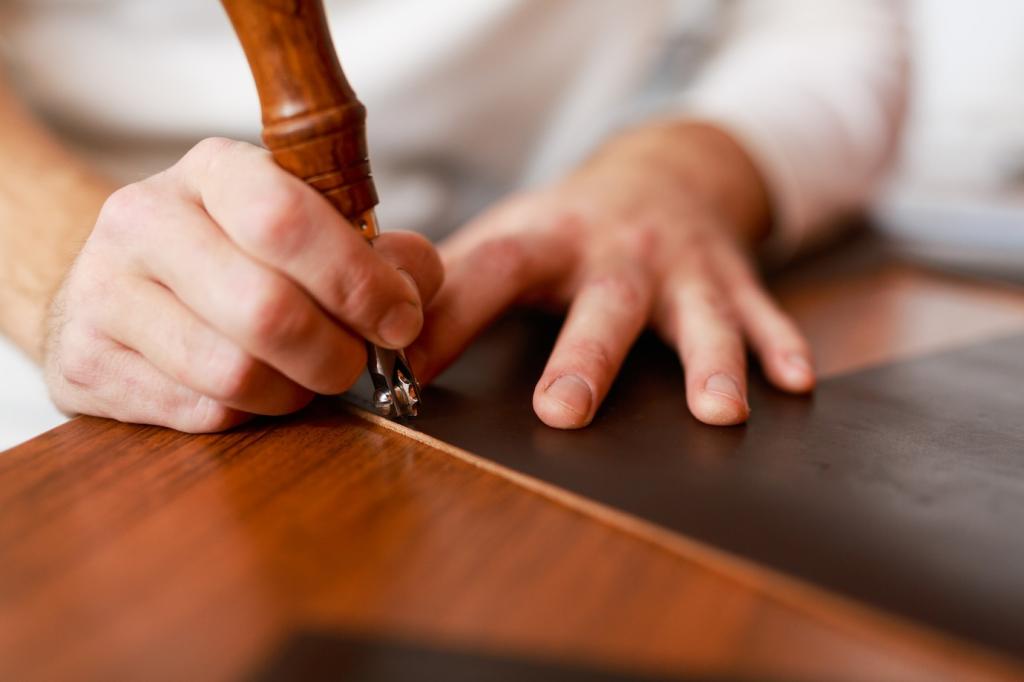
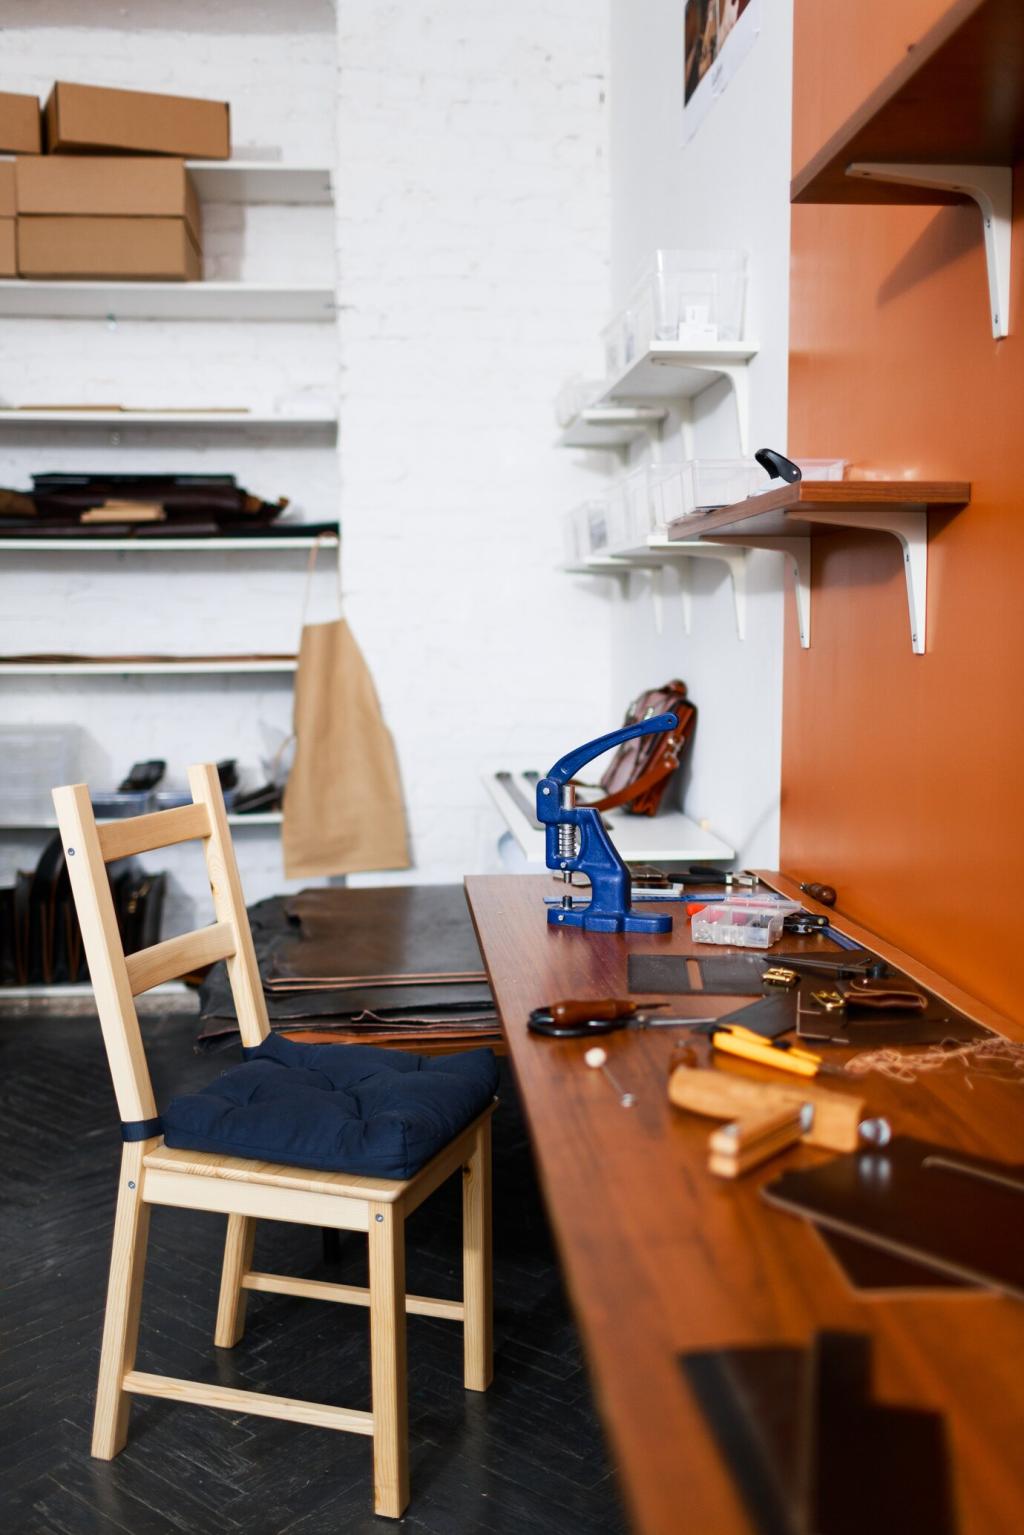
Clean Gently, Clean Smart
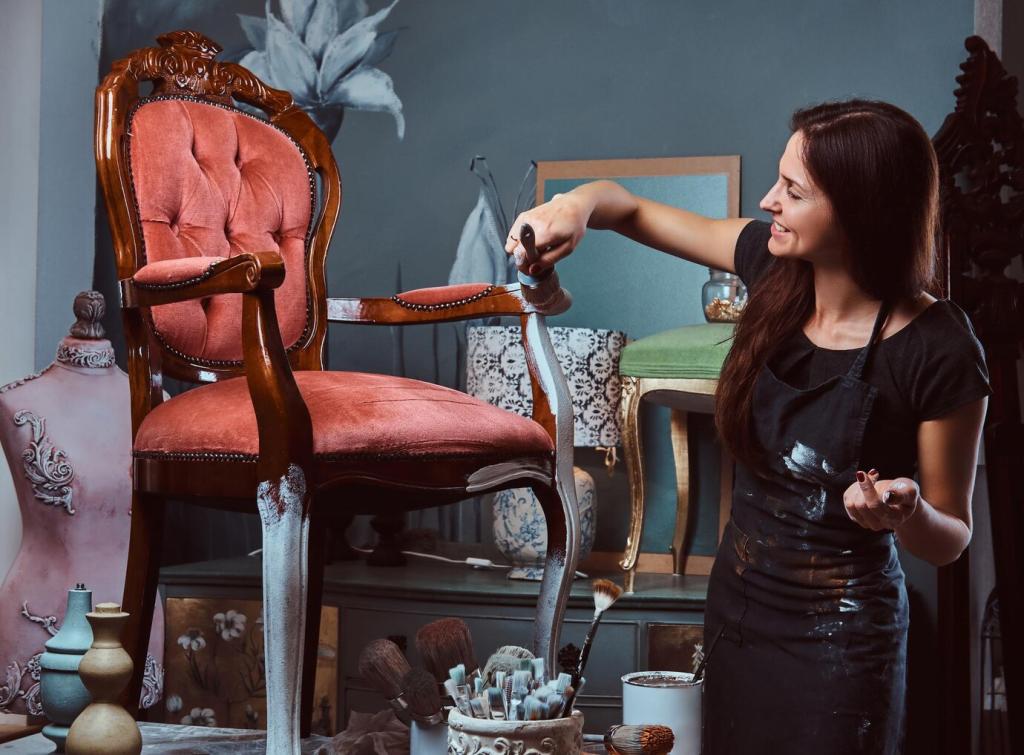
Start with a soft brush, microfiber cloth, and a vacuum with a brush attachment. Dust from top down, following the grain. This reduces grit that can scratch during later steps. Share before-and-after photos to inspire fellow caretakers.
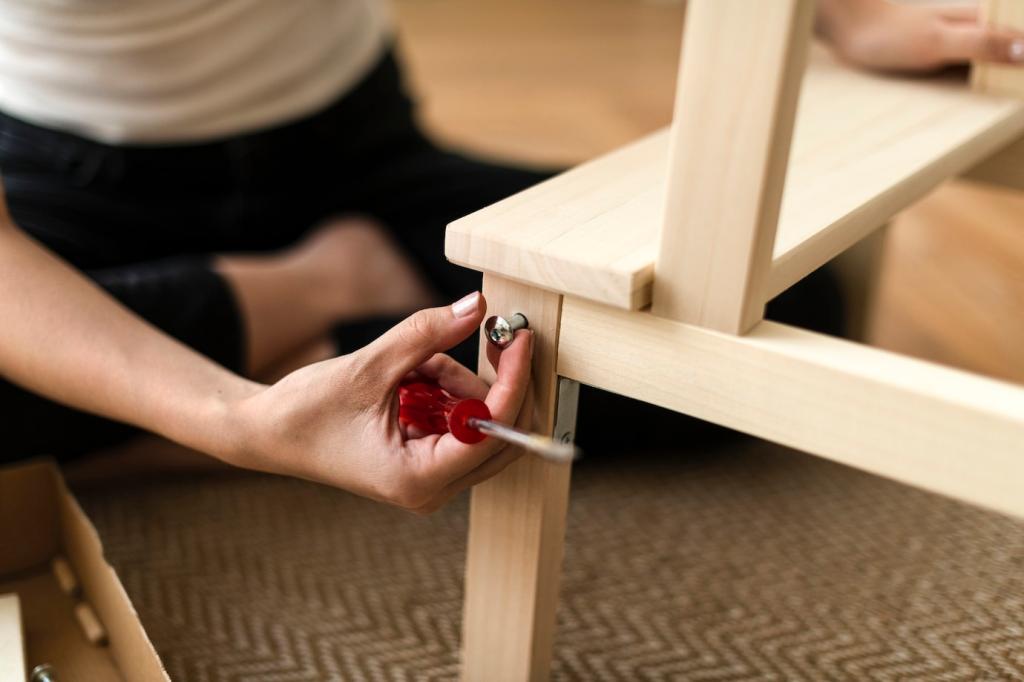
Clean Gently, Clean Smart
Mix a few drops of pH-neutral soap in warm water, barely dampen a cloth, and wipe with the grain. Immediately dry with another soft cloth. Test first, work slowly, and celebrate the subtle glow coming back to life.
Avoid silicone-heavy sprays that complicate future refinishing. Traditional paste wax, beeswax blends, or high-quality microcrystalline waxes protect delicately. Match your choice to the finish type, and always read labels carefully before testing a small, hidden spot.
Polish and Wax with Confidence
Apply a thin, even coat with a lint-free cloth, moving with the grain. Let it haze, then buff lightly. Two thin coats usually outperform one thick coat. Share your buffing playlist—good music makes the rhythm soothing.
Polish and Wax with Confidence
Fix Scratches, Rings, and Dings
Try a matching wax fill stick or blending pencil, then buff carefully. For shallow marks, a touch of paste wax often makes them vanish. Always test color in a hidden spot and photograph progress for feedback.
White rings usually live in the finish, not the wood. Gently warm with a hairdryer on low, or try a tiny dab of petroleum jelly overnight. If needed, a specialized ring remover pad can finish the job.
For compressed fibers in unfinished areas, a damp cloth and a warm iron can lift dents through steam. Finished surfaces demand caution—consider professional help. Share your piece’s story; sometimes the scar is its favorite conversation starter.

This is the heading
Lorem ipsum dolor sit amet, consectetur adipiscing elit. Ut elit tellus, luctus nec ullamcorper mattis, pulvinar dapibus leo.

This is the heading
Lorem ipsum dolor sit amet, consectetur adipiscing elit. Ut elit tellus, luctus nec ullamcorper mattis, pulvinar dapibus leo.
Managing Humidity Swings
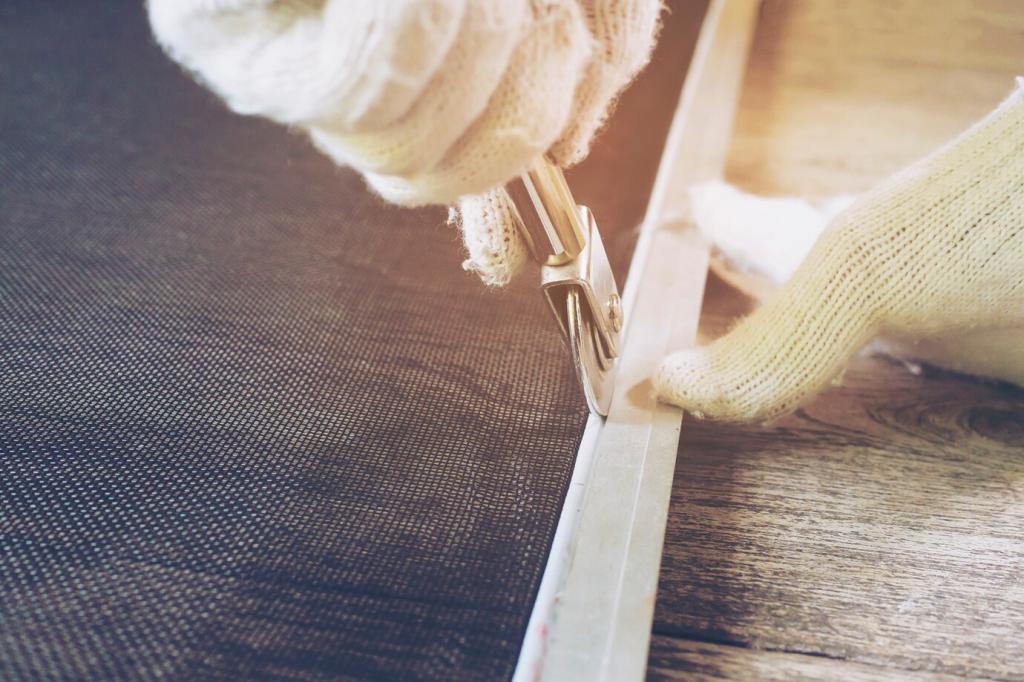
Aim for roughly 40–55% relative humidity. Use a hygrometer near your piece, add a humidifier in winter, and dehumidify in muggy months. Consistency reduces cracks, sticky drawers, and joint separation—quiet guardianship your furniture will thank you for.
Shielding from Sunlight
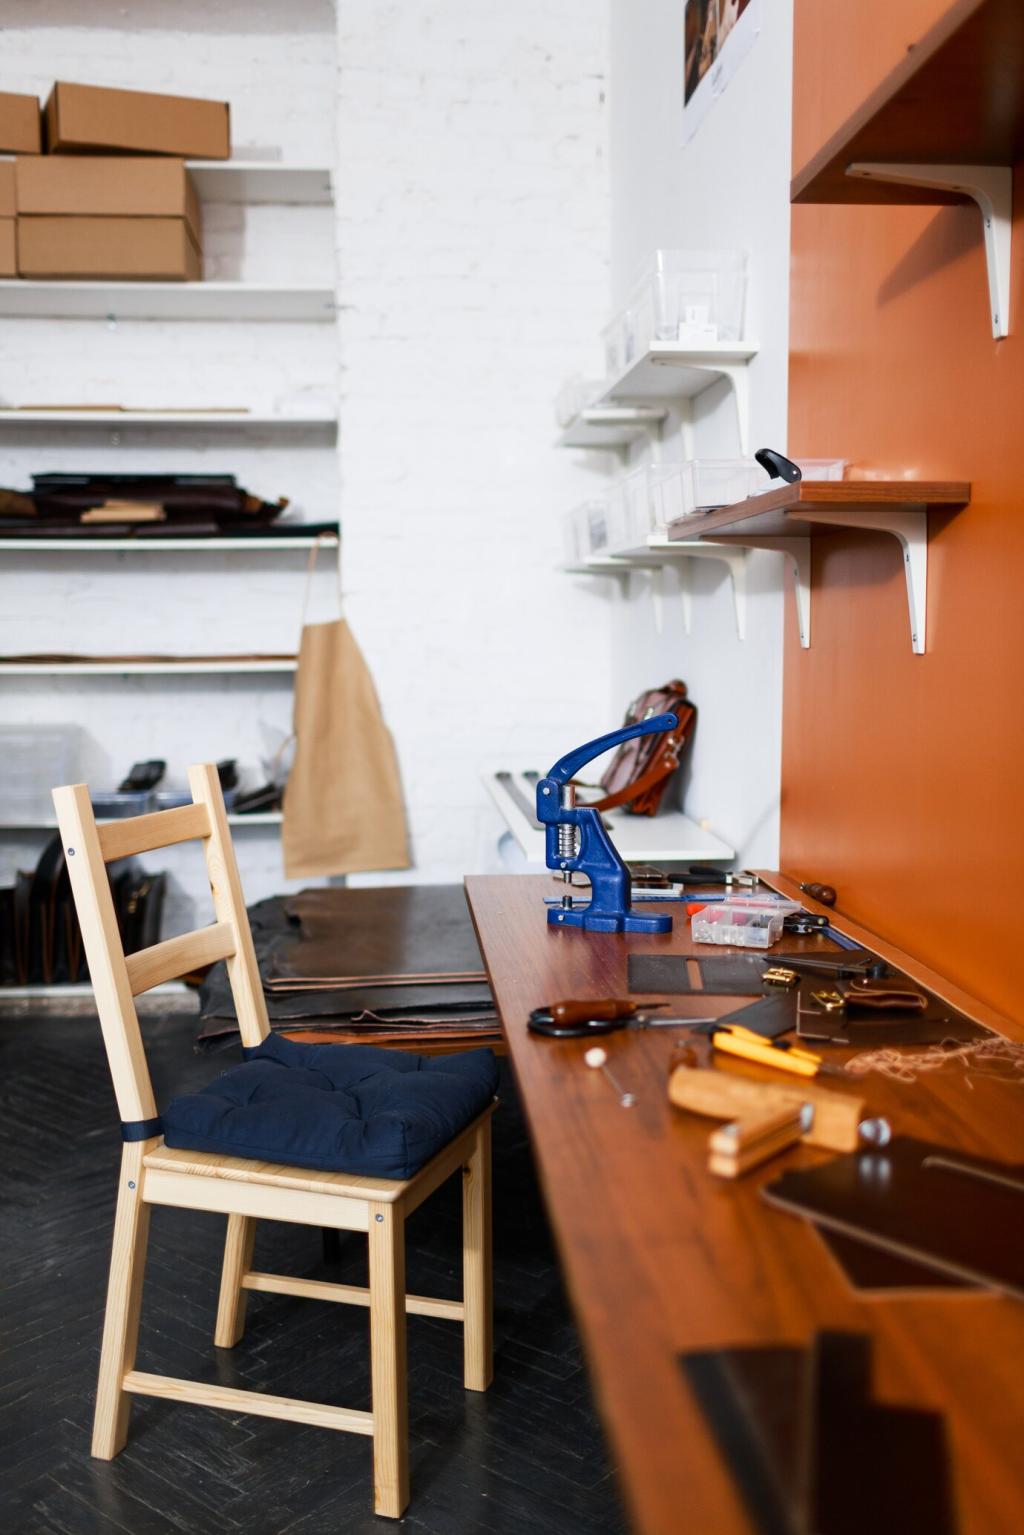
UV fades dyes and darkens some woods. Employ UV-filtering film, lined curtains, or strategic placement. Rotate decor outlines to prevent ghost tan lines. Share your window exposure map, and we’ll help craft a sun-safe furniture choreography.
Temperature Matters Too
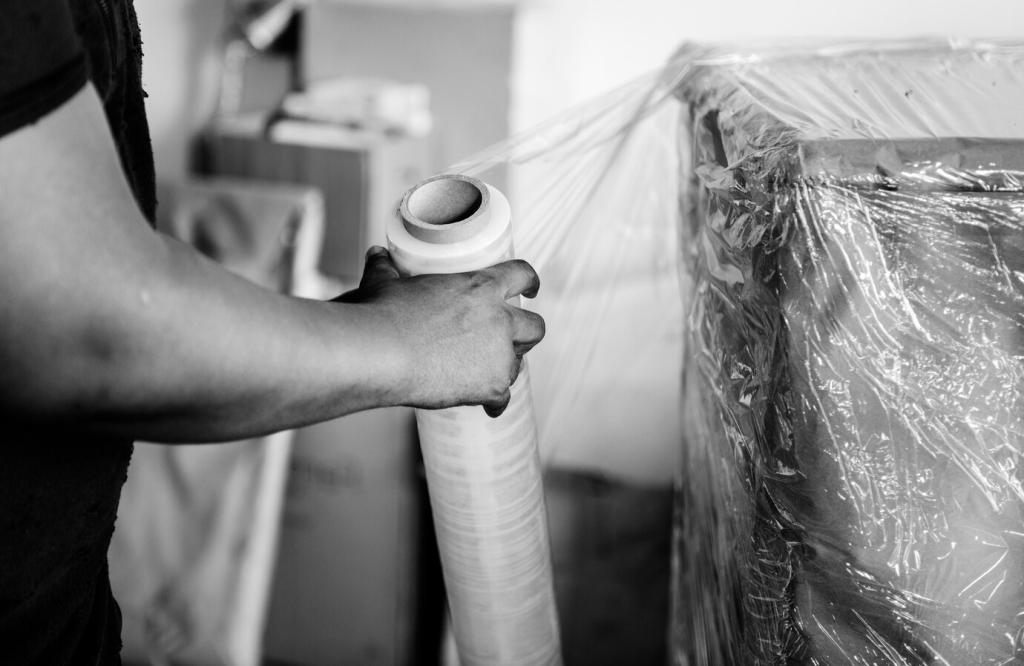
Keep pieces away from radiators, vents, and fireplaces. Sudden heat dries finish and invites warping. If a move is unavoidable, acclimate slowly, then check joints and surfaces a week later. Comment with your local climate for tailored advice.
Routine Textile Care
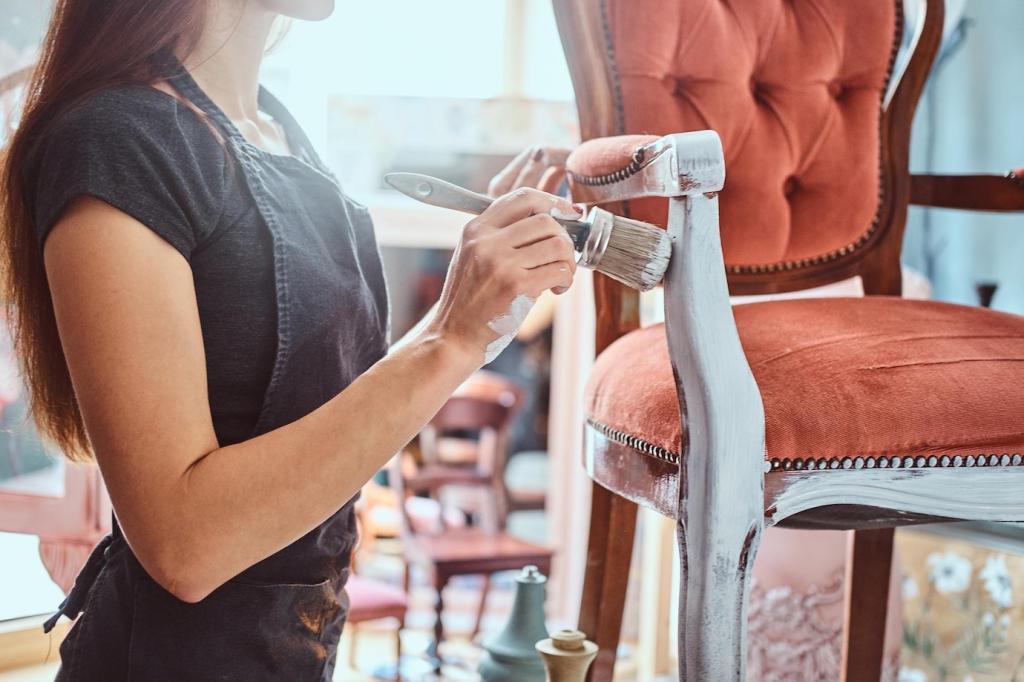
Vacuum through a mesh screen using low suction to protect fragile fibers. Rotate cushions, protect from direct sun, and spot-test every product. A gentle routine stretches decades into generations—leave your best maintenance ritual in the comments.
Spot Cleaning Without Drama
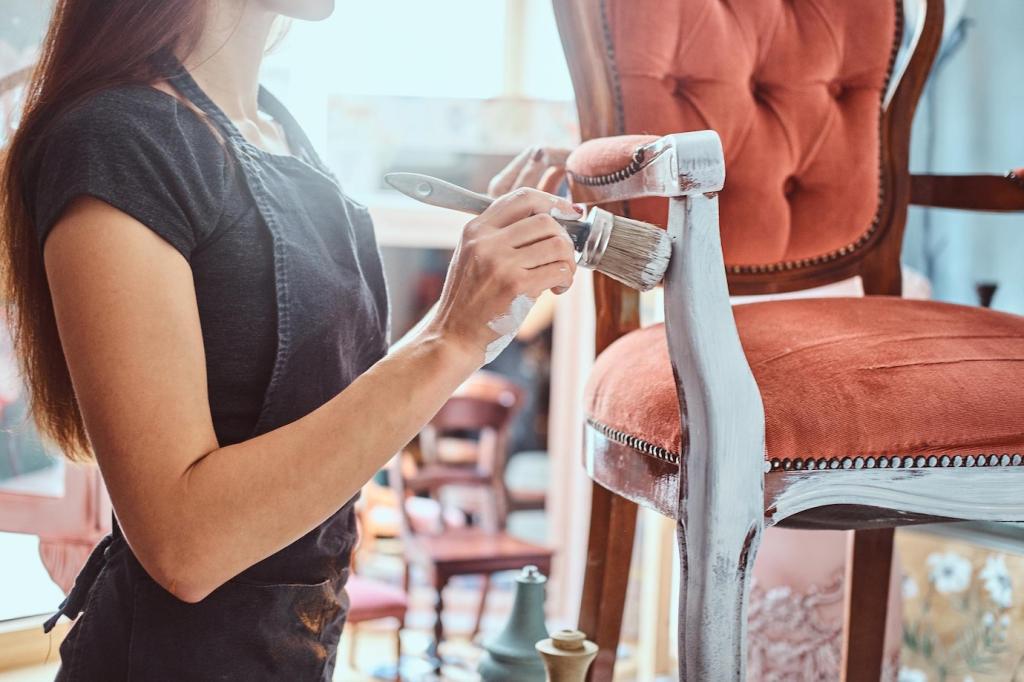
Blot, never rub. Use distilled water and a pH-balanced textile cleaner on a cotton swab, testing seams first. Old dyes can bleed; patience prevents heartbreak. Share stain stories and solutions so others can learn from your victories.

When to Reupholster
If webbing fails, foam crumbles, or fabric shreds, consider reupholstery that honors original lines and trim. Save tags, springs, and salvageable details. Ask for recommendations, and subscribe to see our step-by-step conservation-led reupholstery diary.
