Shine Without Losing History: Polishing Tips for Antique Pieces

Welcome, curator of stories and surfaces. Today’s chosen theme: Polishing Tips for Antique Pieces. Learn how to coax back a gentle glow while preserving patina, provenance, and value. Stay to the end, share your questions, and subscribe for future restoration insights.

Original shellac, French polish, oil finishes, and early lacquers react differently to moisture and solvents. Examine under raking light, test discreetly with mild naphtha on a cotton swab, and document observations. Share findings with us for tailored guidance.

Know Your Finish Before You Touch a Cloth

Walnut veneers, gilt bronze mounts, and silver inlay demand distinct approaches. A safe wax on wood can smear onto bronze, while silver polish may creep into grain. Mask sensitive areas, polish in stages, and ask before you risk a mismatch.

Know Your Finish Before You Touch a Cloth

A Safe, Repeatable Polishing Workflow

Before polishing, remove dust with a soft brush, then lift grime using distilled water with a drop of mild soap on a dampened cloth. Dry immediately. Test every step in a hidden area and note any color transfer.

A Safe, Repeatable Polishing Workflow

Apply a pea-sized amount of chosen polish to a clean cloth, working with the grain on wood or in straight, gentle motions on metal. Stop frequently, evaluate under angled light, and adjust pressure. Report your test results to us.

A Safe, Repeatable Polishing Workflow

After a light polish, buff with fresh cloths until residue disappears. Allow waxes to cure fully before handling. Reassemble any masked hardware, then step back and assess. Share before-and-after photos to inspire fellow readers.

Stories From the Workbench

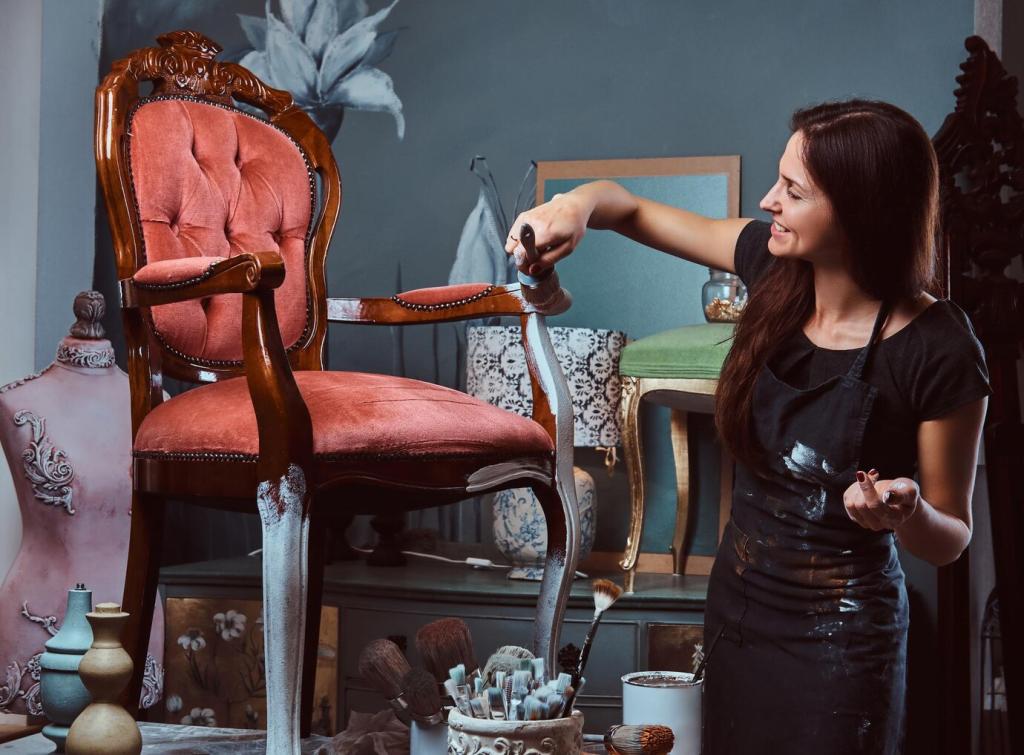
A reader feared dullness was permanent. We tested a gentle wax over original shellac; haze lifted, figure popped, and carved pulls regained depth. The key was resisting heavy abrasion. Tell us if your walnut needs a similar approach.

Stories From the Workbench

Heavy tarnish masked crisp chased lines. Using diluted jeweler’s rouge and cotton tips, we preserved dark recesses for contrast and brightened only the high points. The owner cried happy tears. Ask how to balance sparkle and patina on silver.

Mistakes That Cost Money and Meaning

Aggressive rubbing rounds crisp edges, thins veneers, and erases tool marks. When in doubt, stop early and reassess in daylight. If you feel heat through the cloth, you’ve gone too far. Comment if you’re unsure where to pause.
Mixing polishes, oils, and silicone sprays creates gummy residues that attract dust and resist removal. Keep a logbook of products and dates. If something went sticky, describe it below—we’ll help triage and salvage the surface safely.
Polish creep into keyholes, mother-of-pearl, or gilt mounts can stain. Mask meticulously and remove residue with pointed cotton swabs. Share your delicate-inlay challenges; we can suggest micro-tools and techniques that prevent unsightly halos.

Protecting the Finish After the Shine

Keep relative humidity stable, avoid direct sun, and handle with clean gloves. Move pieces by their strongest structural points. Drop your climate questions below, and we’ll help tailor a care plan for your home environment.
Zampamagica
Privacy Overview

This website uses cookies so that we can provide you with the best user experience possible. Cookie information is stored in your browser and performs functions such as recognising you when you return to our website and helping our team to understand which sections of the website you find most interesting and useful.