Repairing Vintage Furniture Damage: Restore Stories, Not Just Surfaces

Chosen theme: Repairing Vintage Furniture Damage. If your chair creaks like a whispered memory or your sideboard wears water rings like honorable medals, you are in the right place. Today we honor age, conserve character, and bring life back without erasing the past. Subscribe for weekly restoration wisdom, share your questions, and tell us which beloved piece is waiting on your workbench.

Diagnose Before You Dive: Reading the Damage Honestly

Structural or Cosmetic? Learn the Difference

Start by testing for racking, wobble, and split tenons to spot structural issues that threaten the piece’s integrity. Scuffs, cloudy finishes, and small veneer lifts are cosmetic by comparison. Sorting problems correctly prevents overrepair and preserves value. Share the first clues you notice when your furniture ‘talks’ back.

Moisture, Insects, and Movement

Water rings, white blush, or lifting veneer often point to moisture. Tiny pinholes and powdery frass can signal powderpost beetles. Seasonal wood movement causes cracks that open and close with humidity. I once watched a loose console tighten after gentle rehumidification. Subscribe for our seasonal checklist to protect your restorations year-round.

Document Everything: Notes, Photos, and Labels

Photograph the piece in natural, raking light to expose surface warping and hairline cracks. Label loose hardware in small bags and map where each piece belongs. Keep a repair log with measurements, wood species guesses, and finish tests. Comment if you want a printable assessment template to guide your first pass with confidence.

Clean with Kindness: Preparing Surfaces Without Erasing Time

Begin with pH-neutral soap, distilled water, and lint-free cotton cloths. Avoid silicone polishes that contaminate future finishes. Always test discreetly under a drawer or behind a leg. A soft brush lifts dust from carvings without bruising the fibers. Tell us your go-to gentle cleaning kit and we will share ours in return.

Clean with Kindness: Preparing Surfaces Without Erasing Time

Mineral spirits can dissolve waxy buildup and reveal original color, but proceed slowly. The museum trick of saliva on cotton swabs—yes, really—can target delicate grime safely. Work in small zones, pause often, and watch the sheen. Protect edges and inlays with painter’s tape. Subscribe for our patina-friendly cleaning sequence and testing tips.

Solid Bones: Tightening Joints and Frames

Traditional hide glue is repairable with heat and moisture, making it ideal for antiques. Carefully disassemble loose mortise-and-tenon joints rather than forcing glue into a gap. Clean old residue before regluing, align gently, and clamp with even pressure. Tell us your clamping tricks, and we will trade our favorite caul setups.

Surface Surgery: Veneer, Scratches, and Chips

Use a sharp knife for a clean double-bevel patch and align the grain so the repair disappears. Warm hide glue and a caul spread pressure evenly without bruising. Tape the patch in place and let it rest. Share your veneer wins and we will compile a community gallery of nearly invisible fixes.

Surface Surgery: Veneer, Scratches, and Chips

Stain rarely solves mismatches alone. Layer color with alcohol dyes, tinted shellac, and wax fills. Sketch grain lines using artist pencils sparingly, then soften with pad polishing. Build tone slowly and stop early. Comment ‘color’ if you want our step-by-step layering guide with sample boards you can adapt at home.

Hardware and Finishes: Authenticity with a Light Touch

Sourcing Period-Appropriate Hardware

Look for slot-head screws with appropriate thread and length, not modern Phillips replacements. Favor original escutcheons and bails by gently cleaning and stabilizing them. Patinate repairs subtly so nothing looks freshly minted. Ask where readers are finding authentic pieces; we will share vetted sources in our next email.

Reversible Finishes and Ethical Choices

Wax, shellac, and soap finishes are kinder to future stewards than thick modern urethanes. If a surface is stable, conserve rather than replace. A thin shellac wash can unify tone without burying age. Tell us how you balance honesty and beauty; your approach might guide someone’s first heirloom rescue.

When Replacement Is the Most Respectful Repair

Sometimes a missing knob or split backboard needs a carefully chosen substitute. Document the change inside a drawer and keep any original fragments. Aim for compatibility in grain, color, and era. Join the discussion: where do you draw the line between originality and daily usability in a beloved piece?

Safety, Space, and Smart Tools

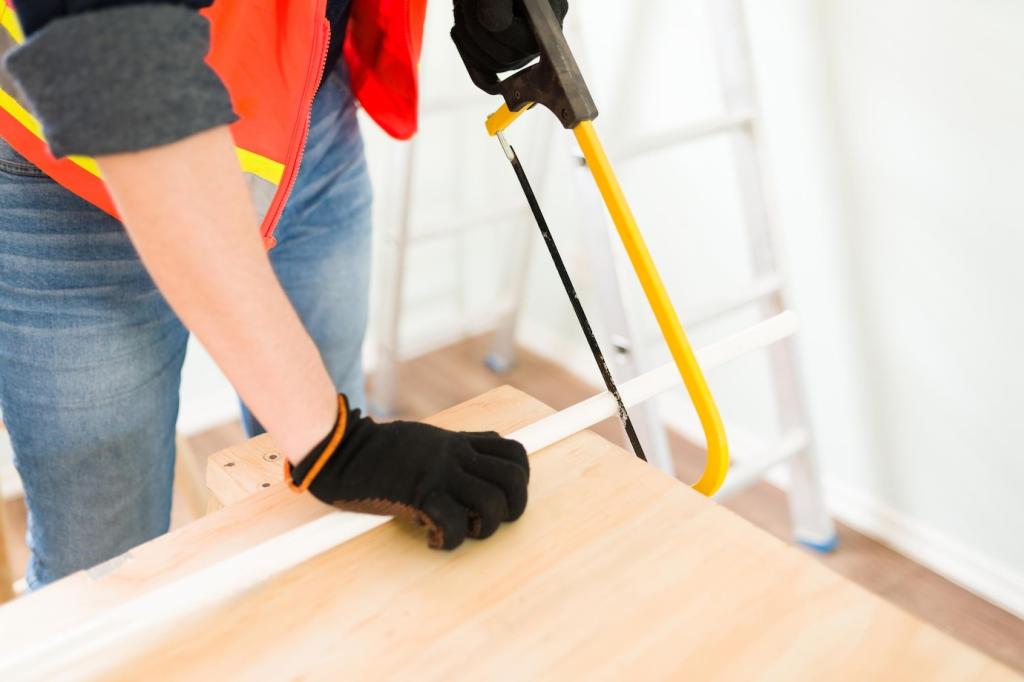
Old finishes can hide lead and brittle coatings. Use P100 respirators, good ventilation, and nitrile gloves. Wet-sand when possible and capture dust. Store solvent rags in metal containers to prevent fires. Comment ‘safety’ to receive our quick-start checklist before your next repair session begins.

Safety, Space, and Smart Tools

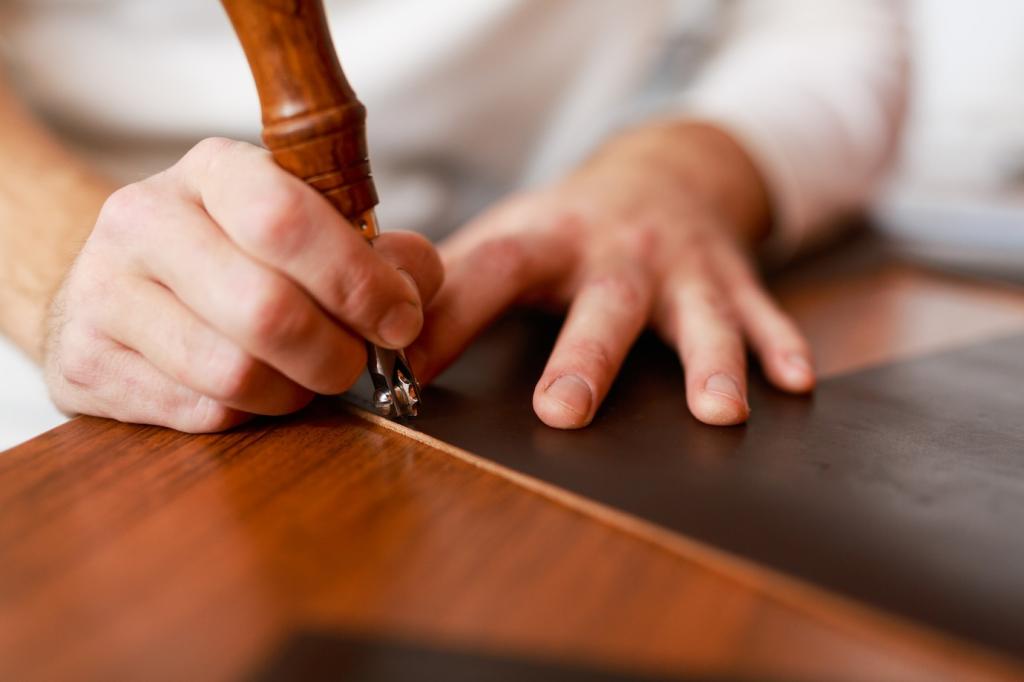
Start with a block plane, card scraper, cabinet scraper, calipers, sharp chisels, and a variety of clamps. Add a glue pot for hide glue, a small heat gun, and cotton pads for finish work. Borrow or share tools first. Tell us what is in your kit, and we will spotlight clever budget solutions.

Safety, Space, and Smart Tools

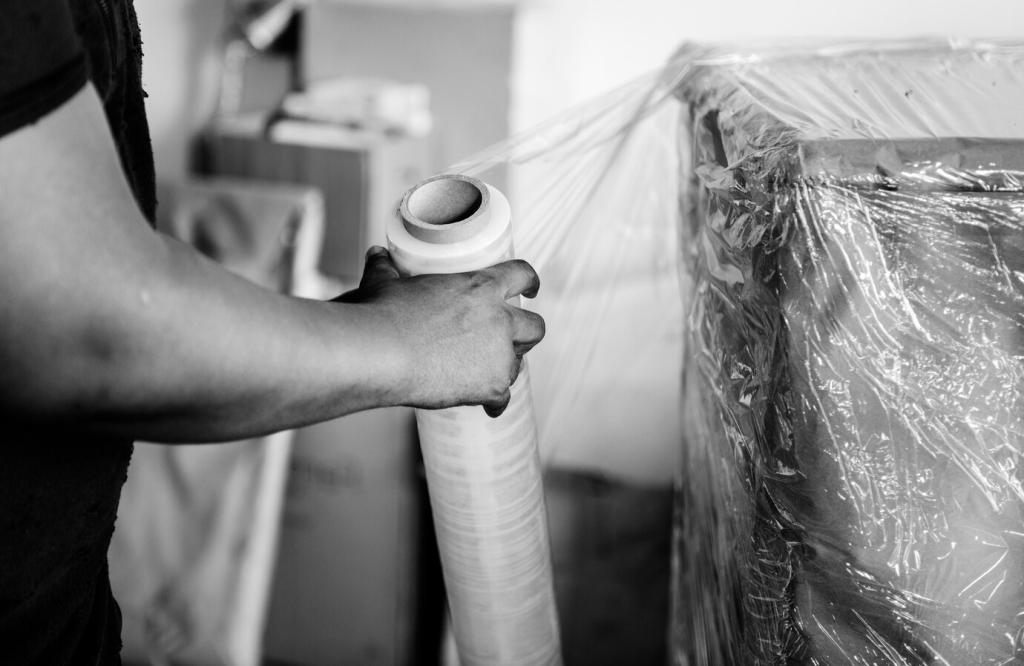
A folding bench, a good light, and a drop cloth can turn a corner into a capable studio. Organize abrasives by grit and tools by task. Establish a clean zone for finishing. Share photos of your setup; we will feature ingenious tiny workshops to inspire fellow restorers.

Safety, Space, and Smart Tools

Lorem ipsum dolor sit amet, consectetur adipiscing elit. Ut elit tellus, luctus nec ullamcorper mattis, pulvinar dapibus leo.

Preserve the Win: Maintenance for Decades

Keep relative humidity steady to reduce splitting and veneer lift. Use felt pads under feet, shades on sunny windows, and coasters under glasses. Seasonal care beats emergency fixes. Subscribe for our reminders as the weather shifts, and never let a dry winter undo your careful work.

Preserve the Win: Maintenance for Decades

Apply a thin layer of microcrystalline or beeswax, then buff lightly for a soft sheen. Avoid heavy wax cakes that cloud grain. Refresh high-touch zones rather than blanketing everything. Tell us your favorite wax and technique, and we will compile a reader-tested guide.
Zampamagica
Privacy Overview

This website uses cookies so that we can provide you with the best user experience possible. Cookie information is stored in your browser and performs functions such as recognising you when you return to our website and helping our team to understand which sections of the website you find most interesting and useful.